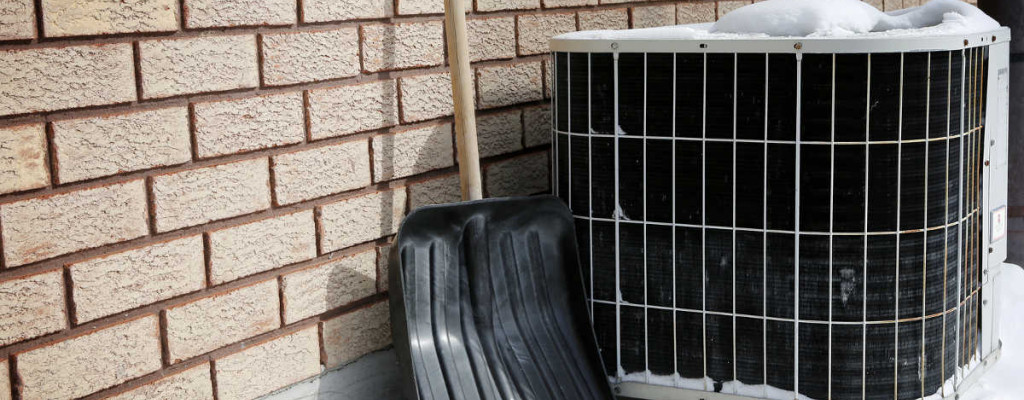
With the warmth of summer coming to an end, it’s time to prepare for the cold winter months ahead. While often overlooked, preparation begins with winterizing your outdoor air conditioning unit. This only takes a little bit of time and could save you hundreds to thousands of dollars down the road.
Here’s a simple checklist of five easy-to-do things as the weather begins to cool off:
1. Turn off power to the unit.
Central AC units usually have exterior circuits that control the power line that runs to the unit itself. To turn off the outside power, open the box that is fastened to the side of your house near the unit and look for a red circuit lever. Next, pull the circuit out, turn it upside-down and put it back into the slot. Close the lid of the box.
Turning off the exterior power to your AC unit will prevent damage to it or electrocution when working with it. This also prevents it from being accidentally turned on during the winter. When turned on, the unit will use water to create cool air. If this water is frozen, it can damage the condenser within your AC unit.
2. Clean the outside of the unit.
Leaving anything near your unit could damage it during the winter. Trim all plant life that is hanging over the unit or growing too close to it and sweep away any grass or leaves that could blow onto or into it. Using a hose with high pressure is a good way to clean the fan blades and condensing coils and get rid of bugs and dirt.
Also, be sure to clear out all debris that is around the unit, so that winter winds don’t blow debris underneath or into the unit. Snow and ice can trap the debris, which could cause damage once summer comes and you start the unit again.
3. Check the unit for damage.
Once you’ve turned the exterior power off and cleaned your AC unit, it’s a great idea to look closely at the outside of your unit for any cracks, rust or other damage. Any crevices within your unit should be sealed tight as well. If you do find any cracks or broken seals, don’t hesitate to call one of our experts so we can address the issue before winter comes!
4. Cover the unit.
While there is some debate over covering your unit, it is best to provide some form of protection during the winter to prolong its life and guard against the harsh winter elements. One way is to purchase a cover, which will cost anywhere between $15 to $30 depending on the quality of the cover and the size of your unit.
One concern with using a cover is the increased chance of moisture getting trapped underneath it, which will cause mold to grow. To avoid this problem, you should leave at least 12 inches of exposed coil, so that air can continue to circulate during the winter.
Another way to cover your unit is to put a simple piece of plywood on top of it. This ensures that your unit can breathe and prevents the risk of potential corrosion or mold from trapped moisture. The wood is also effective at protecting it from falling ice and helps keep leaves and debris away.
5. Check the unit during the winter.
As ice and snow accumulate on your unit throughout the winter, clear it off periodically. Doing this regularly will help keep excess weight from pressing down on your unit, helping to avoid straining its steel enclosure and preventing possible damage in the future.
While you may not have included your AC unit on your initial fall “to-do” list, a little pre-winter preparation will save you time and money when summer is once again upon us.


Comments are closed