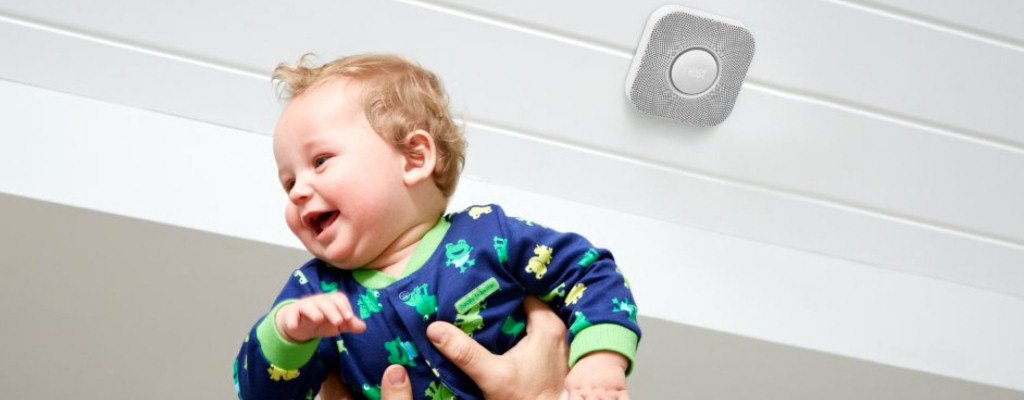
Carbon monoxide (CO) is the silent killer. Exposure to this toxic gas – even for as little as half an hour – can cause a headache, dizziness, nausea, and vomiting. Long-term exposure can lead to more serious health issues and in some cases, it can even be fatal. Since CO is odorless and colorless, it’s impossible to detect with any human senses. You might not even be aware that it may be present in your home!
Installing a carbon monoxide detector in your home is one of the very best ways to ensure your family’s safety. The device will alert you when it senses a certain amount of carbon monoxide in the air over a period of time. With its protection and warning, you can get out of the house before you experience any symptoms associated with carbon monoxide poisoning.
How do you test a CO detector?
Carbon monoxide detectors are a crucial component of every home’s safety program, but to get the most out of a detector, you need to make sure that it’s working properly.
To test the battery, simply press the test button. An audible tone will tell you whether the batteries are fresh and if the detector is getting power. However, fresh batteries are not a guarantee that the device will work as it should. You also need to check the effectiveness of your detector as well.
To test your detectors for carbon monoxide detection accuracy, you’ll need to purchase a test kit. This kit includes a small container with a high concentration of CO and a plastic bag. Use the kit to see how well it can detect gas. It should trigger the alarm and will emit high pitched, loud beeping.
How often should you test your detector?
Carbon monoxide testing should be done once a month. Also, it’s best to change your detector’s battery at least once a year. Experts also recommend that you should replace your detector if it’s over five years old. Knowing that your detector is functioning properly, you’ll have peace of mind knowing that it’ll be reliable in an emergency.


Comments are closed